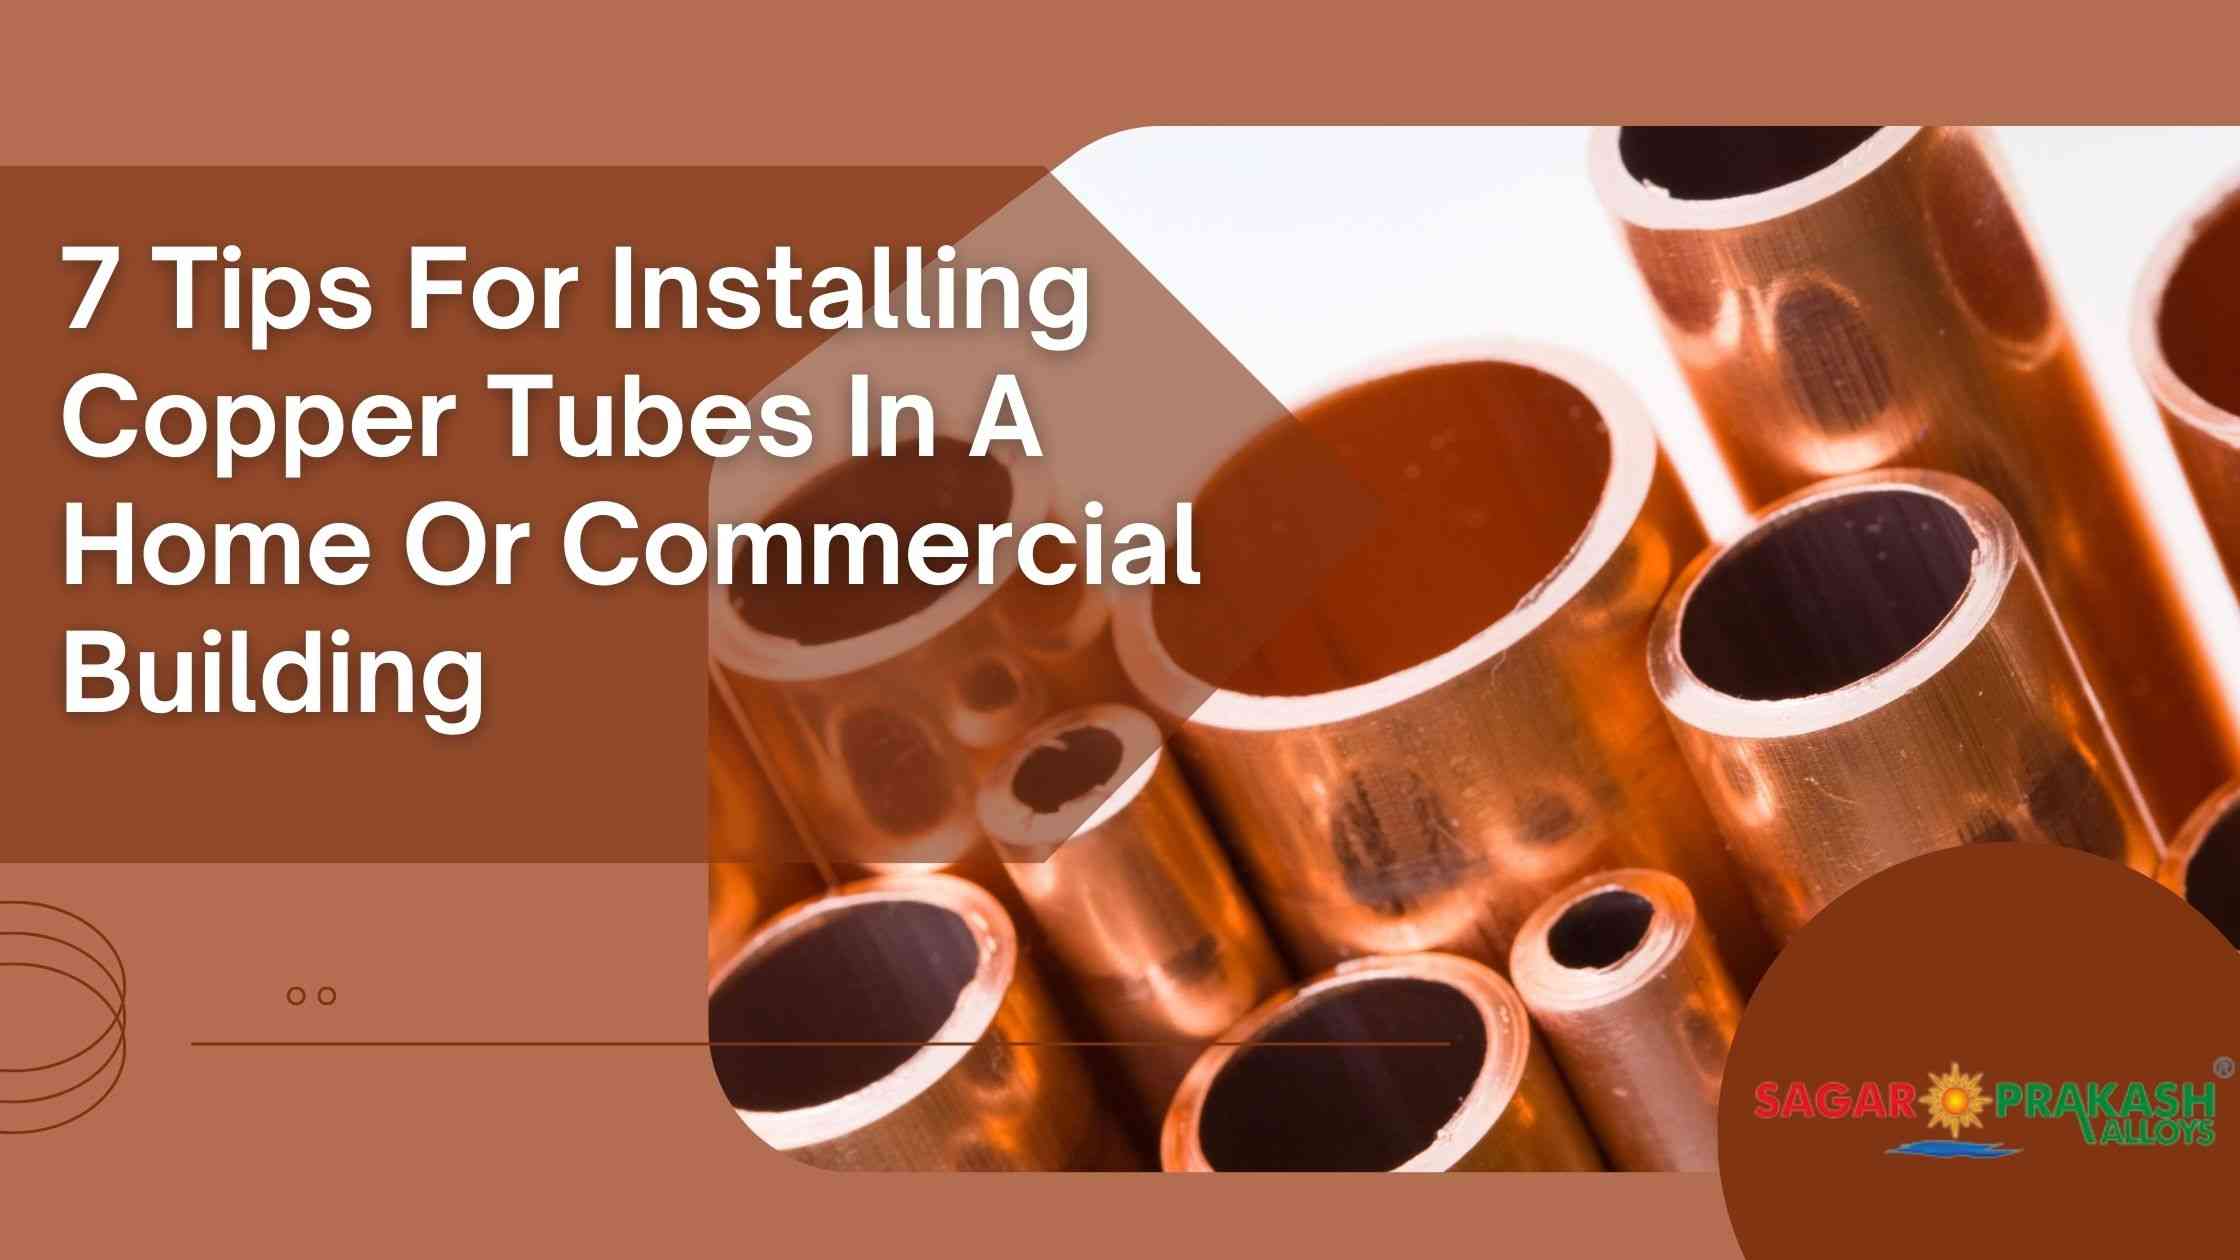
Copper piping is fundamental to the plumbing systems of both residential and commercial structures. It serves as the conduit for water distribution across various areas, evident in toilets, faucets, showers, appliances, and more. While setting up copper pipes might seem challenging, it can be simplified with the right guidance. Below are seven recommendations to assist you in the installation process.
Measure Twice, Cut Once
Before cutting the copper tubing, measure twice so you don’t waste any material by making unnecessary cuts. This practice will also ensure that your cut pieces fit perfectly in the designated spots in your piping system.
Use Quality Tools
When installing Copper Tubes, you must use quality tools such as pipe cutters, wrenches, and reamers to ensure proper installation. Quality tools will save you time and money by preventing leaks or other damages caused by faulty connections or poor craftsmanship during installation.
Clean Pipes Before Installation of Copper Tubes
Cleaning your pipes before installation will prevent dirt from entering your plumbing system, which could cause clogs or other damage over time. Use a non-abrasive cleaner, such as mild soap and water. Clean the inside and outside of the pipes before connecting them.
Use Solder for Copper Tubes
Solder helps create a tight seal between two connected pieces of the copper tube, which prevents leaks from occurring over time. Due to pressure changes in your plumbing system or temperature fluctuations in the environment around it. Before proceeding with the installation, ensure that you properly solder all joints with solder approved for use on copper tubes.
Protect From Corrosion
Copper is susceptible to corrosion over time due to exposure to elements such as oxygen, sulfur dioxide, chlorine, etc. You must protect your copper tubes from corrosion during installation (e.g., using protective coatings) if possible. This practice will help prolong the life of your copper tubing and prevent costly repairs due to corrosion damage caused by these elements over time.
Check Connections
After soldering each joint connection, check each one with a pressure gauge tester before installing. This will alert you if there are any weak points along the connection where more solder needs to be applied. Or if any other issues need attention before the complete installation of the piping system (e.g., cracks/breaks, etc.).
Please pay special attention when checking connections at elbows/bends since these types tend to be weaker than straight connections due to their shape/design. This could lead to potential weak points which need extra attention during testing/pressure checks and the initial complete installation of the piping system(s).
Follow Copper Tubes Manufacturer’s Instructions
Always follow manufacturers’ instructions for installing copper tubes. Certain projects may have specific requirements that differ from the guidelines outlined above. Failure to follow these instructions could result in improper/defective installations. This leads to costly repairs due to an unsafe/noncompliant structure/building code violations, etc. So always consult manufacturer guidelines before starting work on any copper tube installation project!
The Bottom Line
Installing copper tubes can initially seem daunting, but with careful planning and preparation, it doesn’t have to be! Following these seven tips can help ensure your project goes off without a hitch while avoiding costly mistakes due to improper installations or lack thereof when installing complex systems involving multiple bends & turns etc. As always, remember safety first when working on home improvement projects like this one & never hesitate to reach out for professional help if needed!